Goal:
To add the Facebook pixel to your site.
To add the Facebook pixel to your site.
Ideal Outcome:
The Facebook pixel is properly installed without any technical issues.
The Facebook pixel is properly installed without any technical issues.
Prerequisites or requirements:
You can only do this once you have installed Google Tag Manager on your site. You should have also already set up a Facebook Ads Account using Business Manager following SOP 010 (web version).
Why this is important:
Facebook Pixel is essential if you want to use Facebook advertising. With this pixel, you can create remarketing audiences and set up conversions for your campaigns.
Facebook Pixel is essential if you want to use Facebook advertising. With this pixel, you can create remarketing audiences and set up conversions for your campaigns.
Where this is done:
In Google Tag Manager and your Facebook Ads manager.
In Google Tag Manager and your Facebook Ads manager.
When is this done:
Only once—the first time you install the Facebook pixel.
Only once—the first time you install the Facebook pixel.
Who does this:
The person responsible for website management, analytics, or paid advertising.
The person responsible for website management, analytics, or paid advertising.
Environment Setup
Important:
- This SOP describes the process of installing the Facebook Pixel using Google Tag Manager (the tool we recommend for adding and managing tracking codes to your website.) If you haven’t added Google Tag Manager to your site, follow SOP 004 (web version).
- If you are using Shopify follow SOP 068 (web version) instead.
- You should have created or gotten access to your company’s Facebook Business Manager account before following this process.
- Install the Facebook Pixel Helper Chrome Extension .
Installing the Facebook Pixel
- Log in to Facebook.
- Go to your Facebook Business Manager .
- From the sidebar, click “All tools” ➝ “Events Manager”
- Choose an existing or create a new pixel to work with.
To work with an existing Pixel which was created but wasn’t installed yet, follow the steps below. Select the previous created pixel you want from the list and click “Continue Pixel Setup”.
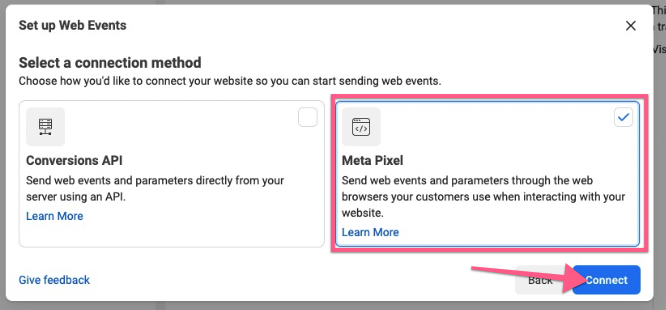
Select “Meta Pixel” from the list, and click “Connect”. If you don’t see Meta Pixel your UI probably isn’t updated yet, select Facebook Pixel instead.
You will be presented with two options. 1) Manually add pixel code to website or 2) Use partner integration. Select “Check for Partner”.
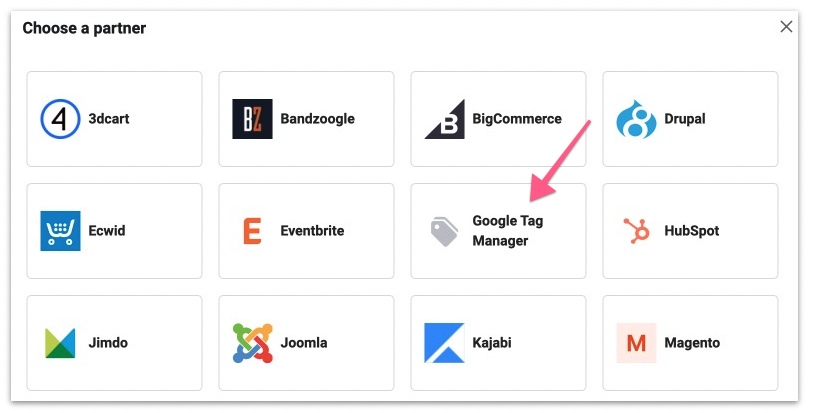
Select “Google Tag Manager” from the partner list and jump to Step 5
5. To create a new pixel, follow the steps below.
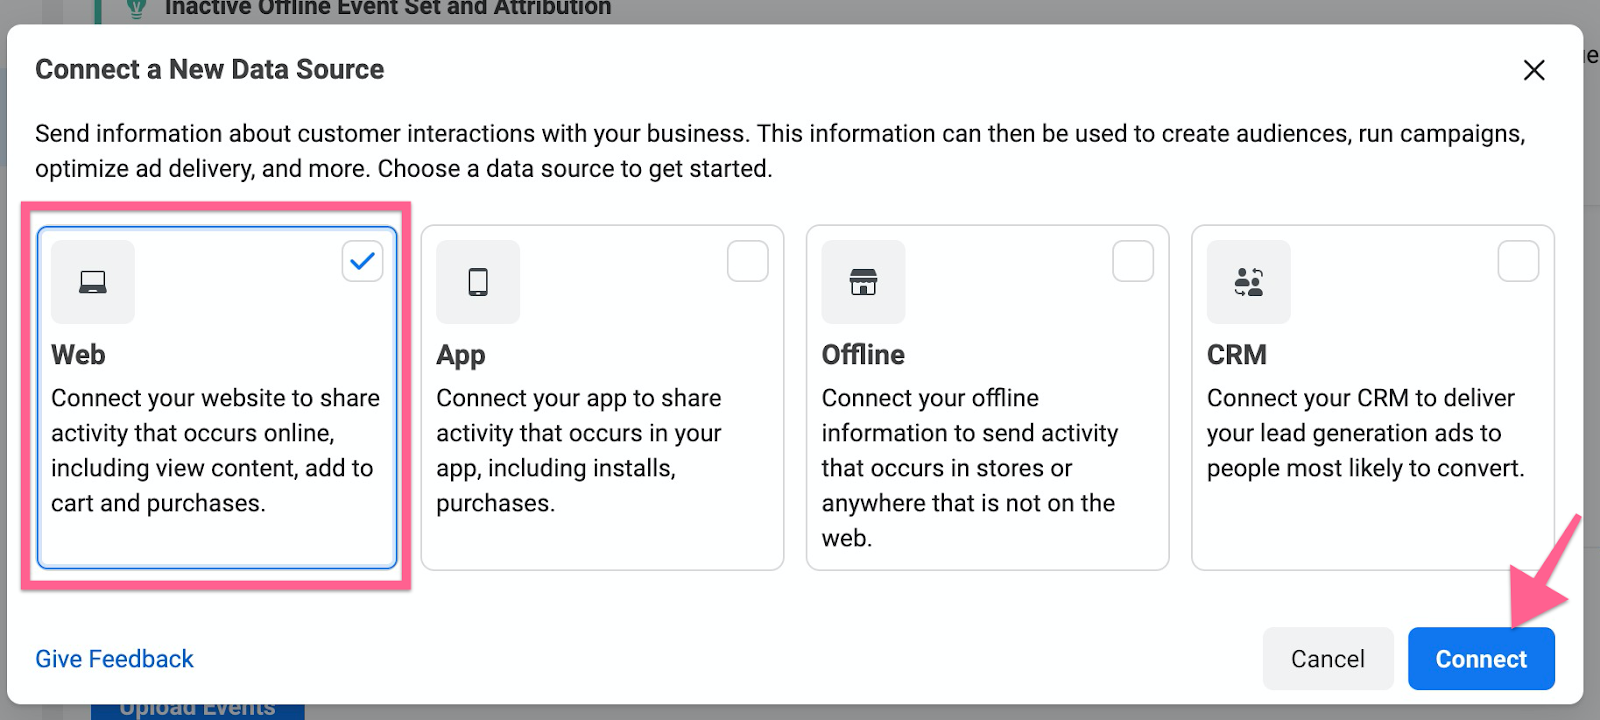
Click on “Connect Data Sources” or Connect Data
Select “Web” from the list, and click “Connect”
Name your pixel and click “Create Pixel”.
Add your website URL and click “Tick”.
6. At this point, there are two ways to select Google Tag Manager as integration method.
The Google Tag Manager integration automatically appears and is selected because you have already set up Google Tag Manager on your site. Click “Next”.
OR Un-check the tick box for other recommended partner integration and click “Next”.
7. Select “Meta Pixel” only.
You will be presented with two options. 1) Manually add pixel code to website or 2) Use partner integration. Select “Check for Partner”.
9. Select “Google Tag Manager” from the partner list
10. You will be taken on the onboarding workflow to connect your Google Tag Manager account to Facebook. In the first screen, click “Next”.
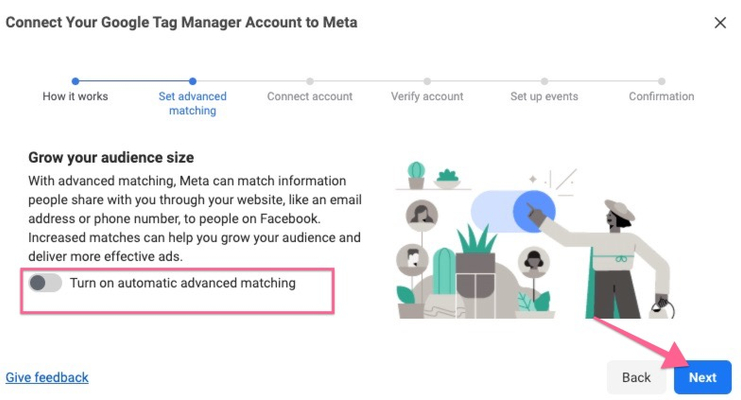
11. You will be asked If you want to turn on “Advanced Matching”. If you are an advanced Google Tag Manager user you might want to configure it now. If not, leave it “Off” and click “Next”:
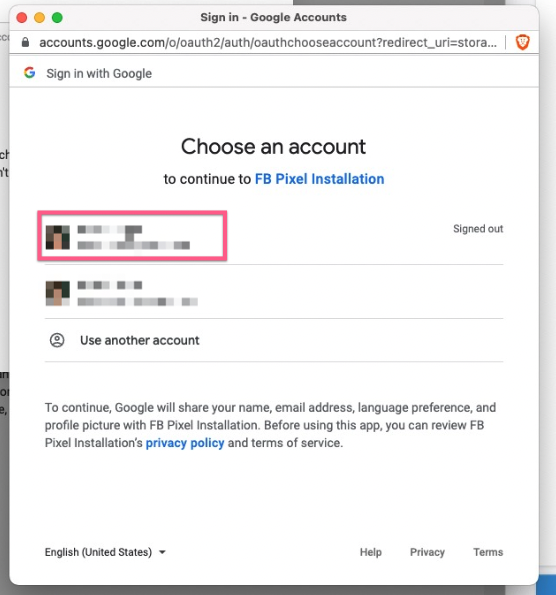
12. Next, you will be prompted to sign in to the Google Account you use for Google Tag Manager.
13. Select the access to provide for FB Pixel Installation. We recommend selecting all and click “Continue”.
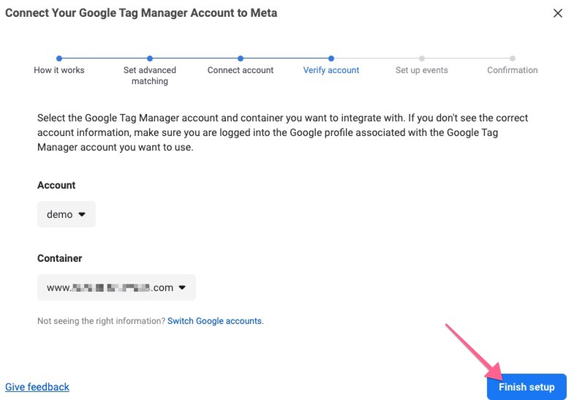
14. Click “Finish Setup” after checking the account and container name. Otherwise, click on the drop down arrow to choose the correct one.
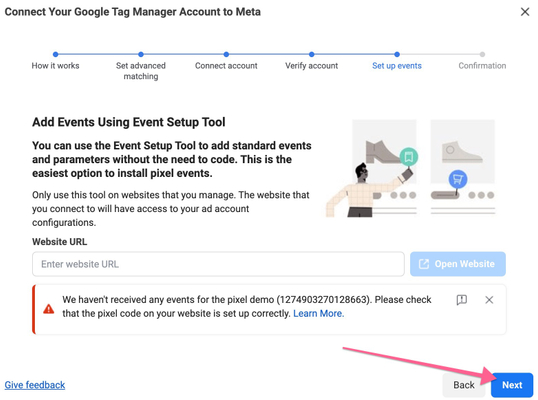
15. Next, you can choose to add events using the Event Setup Tool. Since you just want to add the Pixel Base Code, for now, you will just need to click “Next”.-
You might see a warning that mentions that the pixel hasn’t received any events. This is normal since you’ve just installed it—we’ll verify the installation later in this SOP.
-


QA the Meta Pixel
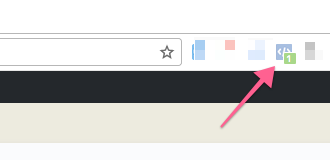
- Open your website using Chrome.
- Click on the Meta Pixel Helper Chrome extension. If you haven’t install it, you can install it from Pixel Helper Extension from the Chrome Store.
- You should be able to see your Meta Pixel installed. The extension should be able to find at least one pixel, and it should match the Pixel ID on your Meta Business Manager.