
Set up a Google Analytics 4 account from scratch.
Successfully create a Google Analytics 4 account ready to be implemented on your website or app.
You need to have an existing Google account. If you don’t have one, you can create a Google account here.
Google Analytics 4 is the next generation analytics platform by Google (replacing the legacy platform Universal Analytics). It’s privacy focused as well as better suited to track the customer journey across platforms and devices.
Google Analytics.
Before you make your website public.
Marketing Manager, marketing consultant, or any person responsible for marketing strategy for your business.
Sign up for a Google Analytics account.
1. Head to https://analytics.google.com and make sure you’re signed in to your Google account (the email that you used to sign up for any Google products — Gmail, Google Ads, Youtube, Google Tag Manager, etc).
2. The following depends if you have an existing Google Analytics account.
1.If you have an existing Google Analytics account (e.g. Universal Analytics), select Admin ➞ Create a new account.


3. If you don’t have an existing Google Analytics account. Click “Start measuring”.
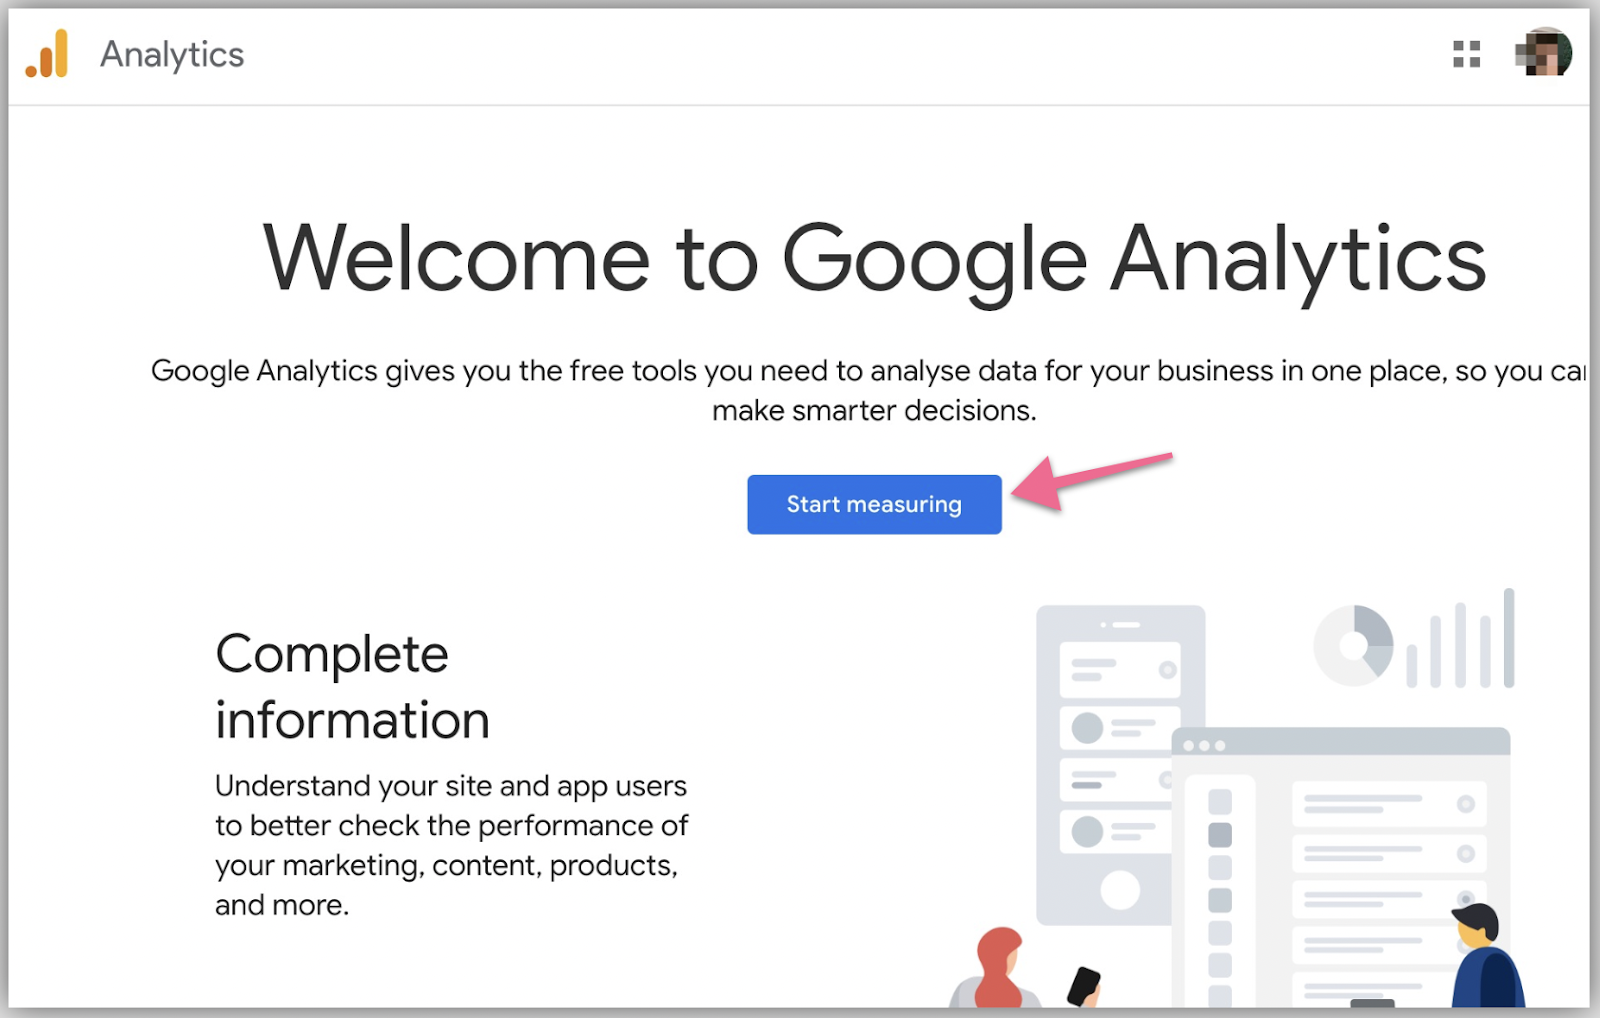
4. In the account setup page, add an account name. If you’re not sure what name to give this account a good start is to use an individual, a company, or a brand name.

Note:
1. You can create multiple Google Analytics accounts.
2. Also, It’s not recommended to use the name of your website as your account name as you will add it as a property later. One Google Analytics account can contain multiple properties.
3. Once done, click “Next”.
4. In the property setup, add a name for your property. The property name should be the name of your website or mobile app. Make sure to set the appropriate time zone and currency for your business/website/app. Then click “Next”.

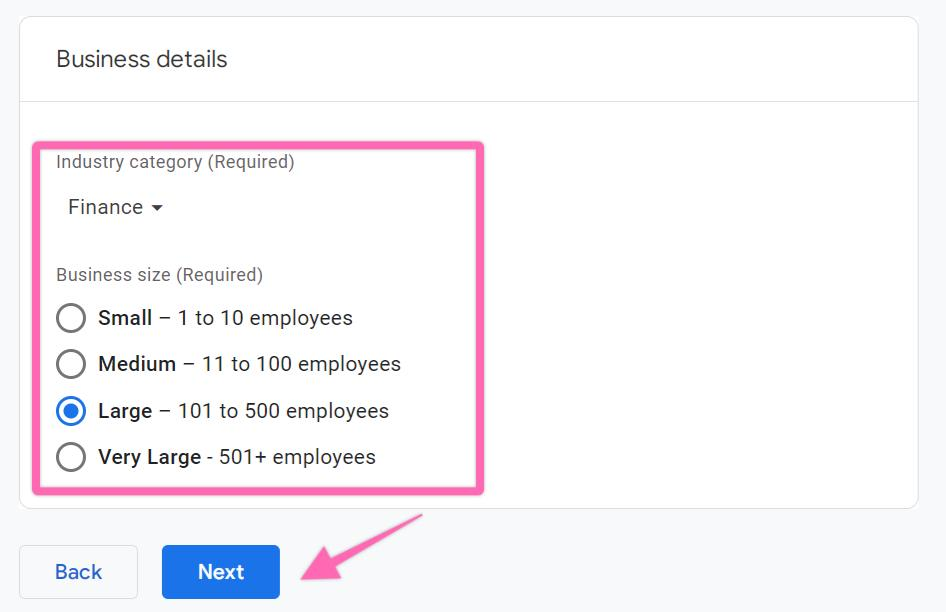
5. Fill in the rest of your business details and click “Next”.
a. Industry category — The niche that your business is in.
b. Business size — How many employees do you have including yourself?
6. Choose your business objectives and click “Create”. You can choose more than one objective.

7. Accept Google Analytics terms of service agreement.

8. Next, choose where you will be collecting your data such as websites, android apps, or iOS apps. But for this tutorial, we’ll choose Web.

9. Add your website URL and add a name for this data stream to help you identify this data. Leave the enhanced measurement enabled by default. Then click “Create stream”.

10. You will then see a summary page of the data stream for your site. That means you have successfully created a Google Analytics 4 account.

11. From here, we recommend you to connect your Google Analytics account to your website for tracking, if you have not done so. Follow this SOP to use your Google Tag Manager.